


SEARCH FILTERS


Type

-
- 1960 Campaign (OHC)
- Abraham Zapruder Film (OHC)
- Artists (OHC)
- Authors, Filmmakers, and Researchers (OHC)
- Chicano History and Culture (OHC)
- Childhood Recollections (OHC)
- Civil Rights and Social Activism (OHC)
- Cold War and Communism (OHC)
- Community Leaders (OHC)
- Cuba (OHC)
- Dallas and 1960s History and Culture (OHC)
- Dallas Trade Mart (OHC)
- Dealey Plaza Eyewitnesses (OHC)
- Fort Worth (OHC)
- History of 411 Elm Street and The Sixth Floor Museum (OHC)
- Jack Ruby (OHC)
- Kennedy Collectors (OHC)
- Kennedy Family Acquaintances (OHC)
- Kennedy Funeral (OHC)
- Law Enforcement (OHC)
- Lee Harvey Oswald (OHC)
- Love Field Airport (OHC)
- Motorcade Spectators (OHC)
- News Media (OHC)
- Non-Rememberers (OHC)
- Parkland Memorial Hospital (OHC)
- Peace Corps (OHC)
- Popular Culture (OHC)
- Rail Yards in Dealey Plaza (OHC)
- Space Program (OHC)
- Vietnam (OHC)
- White House amd State Officials (OHC)
People
Locations
Terms
date


SEARCH FILTERS
Displaying 12 of 83 results across 7 pages
X clear filters
sort by date
result per page
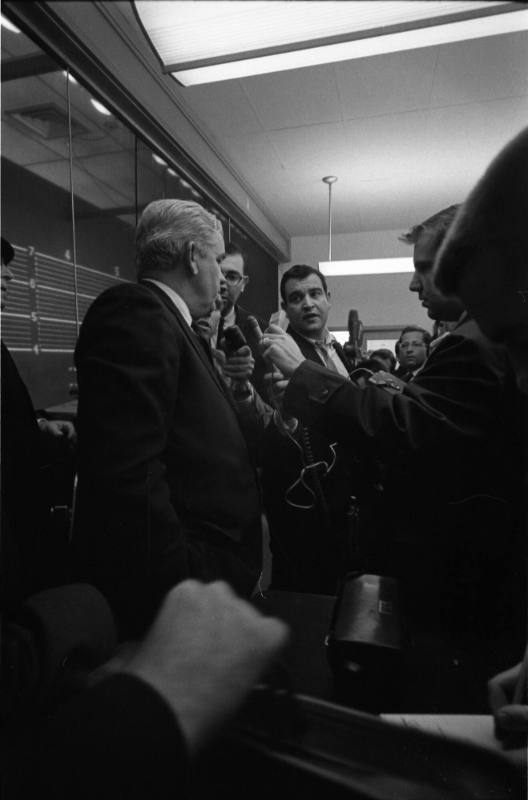
Image of Dallas County Criminal District Attorney Henry Wade’s press conference
11/23/1963

Negative Strip 43 from the Dallas Times Herald Collection
11/23/1963
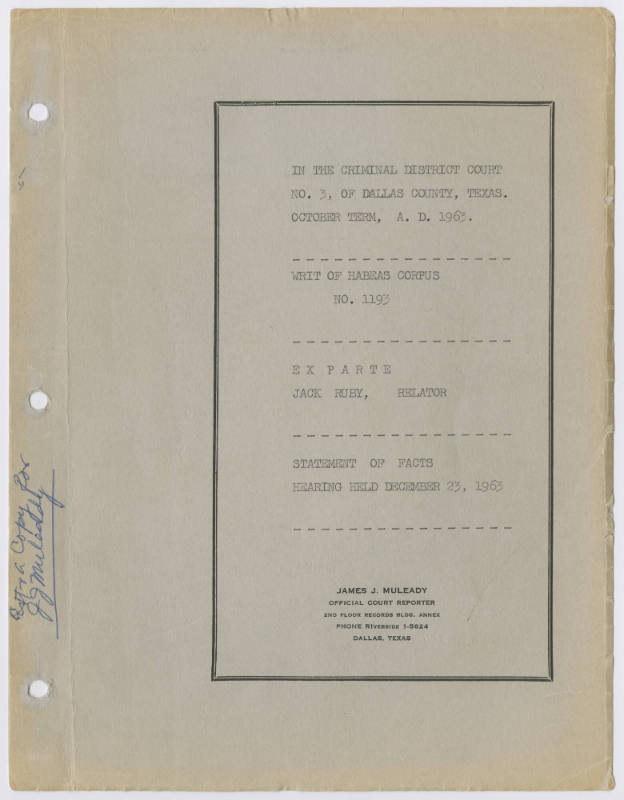
T01 Transcript of State vs. Ruby: Writ of Habeas Corpus, Volume 1
12/23/1963
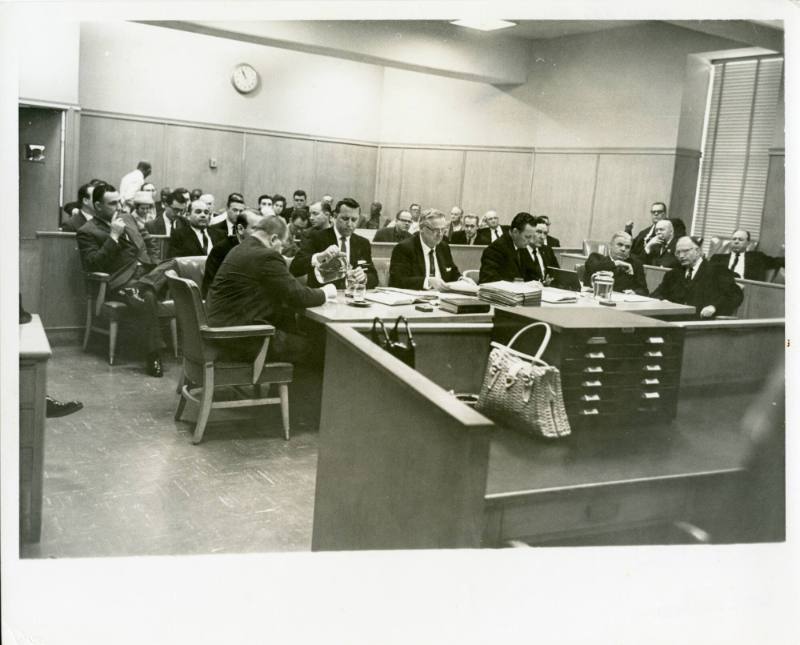
Photo of the District Courtroom No. 3 during the Jack Ruby trial
January 1964 – February 1964

Photo of the District Courtroom No. 3 during the Jack Ruby trial
January 1964 – February 1964
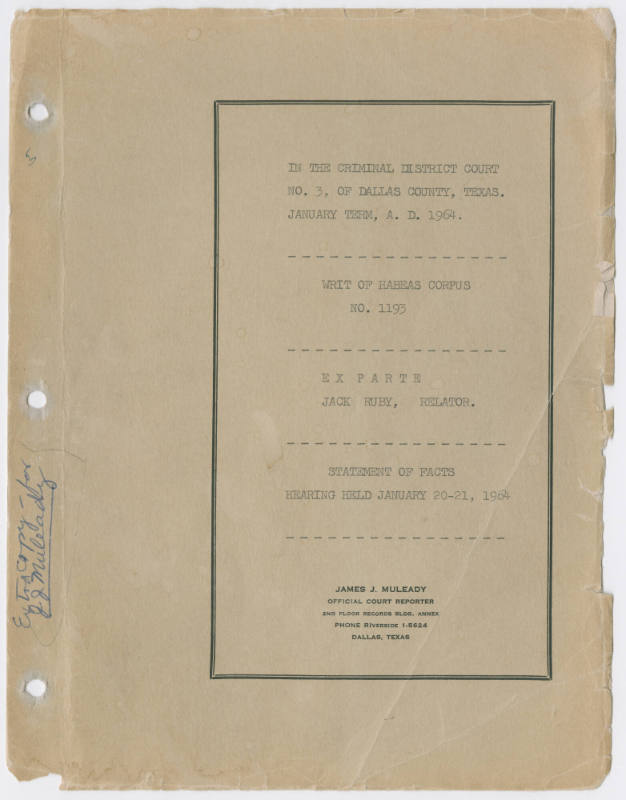
T02 Transcript of State vs. Ruby: Writ of Habeas Corpus, Volume 2
01/20/1964 – 01/21/1964
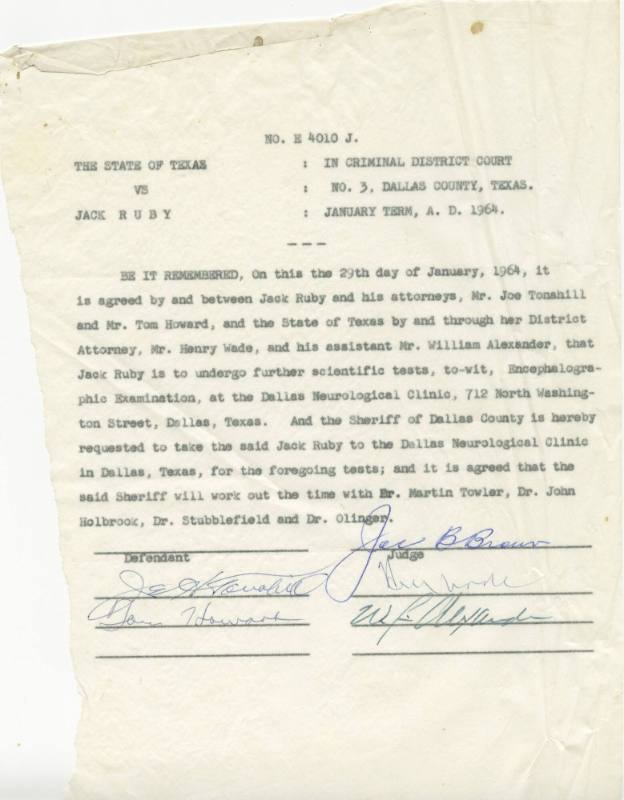
Signed court document arranging EEG for Jack Ruby
01/29/1964
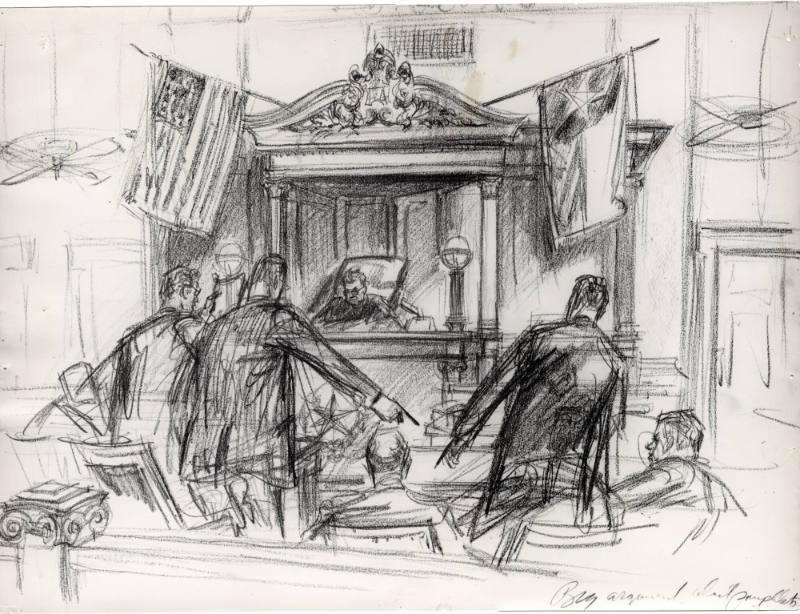
Photograph of courtroom sketch of attorneys and Judge Brown at Ruby trial
February 1964 – March 1964
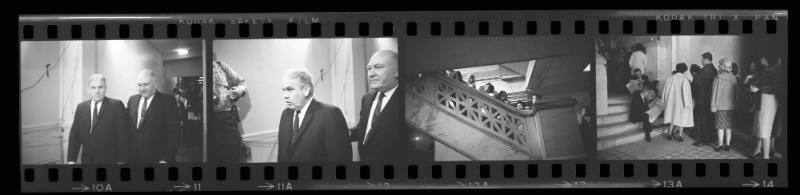
Negative Strip 56 from the Dallas Times Herald Collection
February 1964 – March 1964
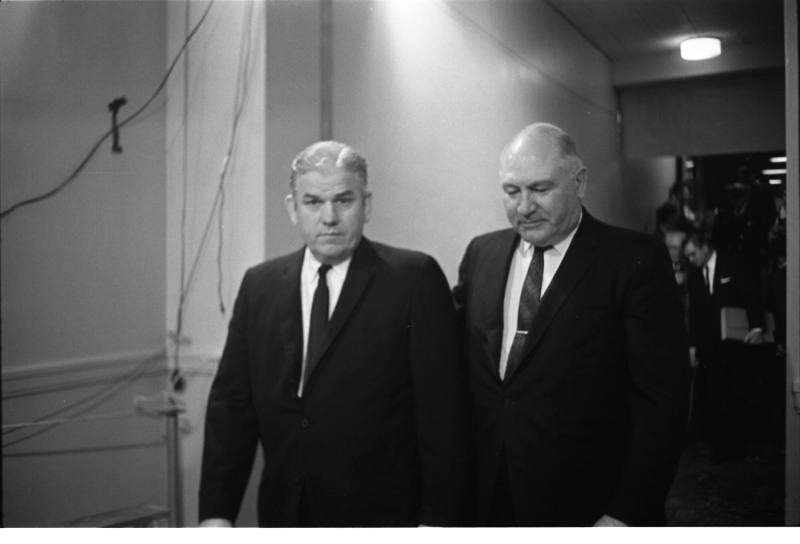
Image of Dallas County Criminal District Attorney Henry Wade
February 1964 – March 1964
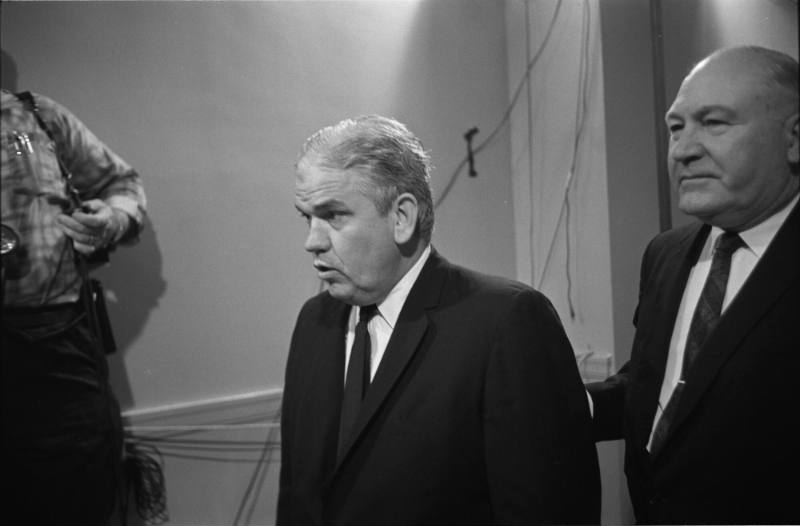
Image of Dallas County Criminal District Attorney Henry Wade
February 1964 – March 1964

Photograph of courtroom sketch of Jack Ruby trial courtroom with notes
February 1964 – March 1964

